
Product photography for Webflow stores: specs, sizes, and what converts
Webflow-friendly product photo specs — sizes, formats, file weight, alt text. Plus the photography decisions that actually convert on Webflow ecommerce sites.
When someone lands on your product page, the first thing they really see is not your copy or your pricing. It’s your image. Recent research shows that about 83% of shoppers say product images are extremely influential in their purchase decisions. If your photos feel generic, dark or confusing, people click away long before they ever read your “why us” section.
That’s where e-commerce photography comes in. Good images don’t just make your store look nicer; they reduce doubt, build trust and make it easier for someone to say “yes”. And when you combine strong visuals with a flexible builder like Penni Cart, where you can control the whole flow from product page to checkout, you give your photos space to do their job.
What Is E-Commerce Photography?
E-commerce photography is photography created specifically for selling products online. It’s not just “nice pictures” of your products. It’s a system of images designed to answer the questions a shopper has when they’re looking at your product on a screen instead of holding it in their hands.
E-commerce photography is different from generic stock images which can make your brand look unoriginal and hurt conversion rates. It’s also different from lifestyle photography which shows products in real world settings and from commercial photography which often uses dramatic lighting and creative backgrounds.
True e-commerce photography also thinks about where the images will live: on listing pages, product pages, quick views, cart drawers, email and ads. A good guide recommends using multiple images, shots from different angles, close-ups and lifestyle settings, to answer shopper questions and set expectations.
The goal is simple: make it as easy as possible for someone to understand what they’re buying and feel confident enough to add to cart.
Why Product Photos Can Make or Break a Sale
Online shoppers can’t touch, try on or test your product. They rely heavily on what they see on the screen. One report found that high-quality product photos can convert up to 94% better than low-quality ones, a huge difference for stores fighting over small conversion gains.
Photos affect more than “does this look cool.” They shape how trustworthy your brand feels, how expensive or cheap a product looks and whether your store feels like a real business or a risky purchase. When images are sharp, consistent and honest:
- People feel more comfortable paying higher prices.
- There are fewer “this isn’t what I expected” returns.
- High-quality product photography helps reduce return rates by setting realistic expectations.
- Your store looks serious even if you’re a small brand.
High-quality visuals also improve SEO, making your products more discoverable to potential buyers.
Types of Ecommerce Product Photography
There isn’t just one kind of commerce photography. Most strong stores mix a few types so customers get the full picture.
First, you have clean product-only shots on a simple background. These are white background photos or studio packshots, classic white or light-color backgrounds you see on most high-end stores. They eliminate distractions and highlight the product itself, ensuring clarity and consistency.
Next, you have lifestyle shots. These show the product being used in real life: someone wearing the jacket, a mug on a desk, a lamp in a living room. Lifestyle photos help people imagine the product in their own world, creating an emotional connection. They’re especially important for apparel, home goods and beauty.
Then there are detailed and close-up shots. These are where you zoom in on texture, stitching, ingredients lists, ports, buttons, anything someone might care about before buying. Detailed images are especially important if quality or materials are part of your brand story.
Group shots showcase multiple related products, variants or complements in a single frame. This style is effective for demonstrating product bundles or how items can be used together. Packaging shots focus on the outer design of the product, highlighting its visual appeal and the unboxing experience.
Finally some brands add more advanced options like 360-degree photography or interactive spins. Studies suggest 360° product images can increase conversion rates by over 20% and add-to-cart rates by around 35%. You don’t need to start there but it’s a powerful upgrade once your basics are solid.
Planning a Shoot That Fits Your Brand and Customers
Good e-commerce photography usually starts long before the camera comes out. The first step is thinking about your customer. What do they worry about before buying? What do they need to see to feel sure?
- Clothing buyers need to see fit, length and fabric texture.
- Gadget buyers care about ports, buttons, screens and scales next to a hand or laptop.
- Home and decor buyers want to see how an item sits in a room and what colors it pairs with.
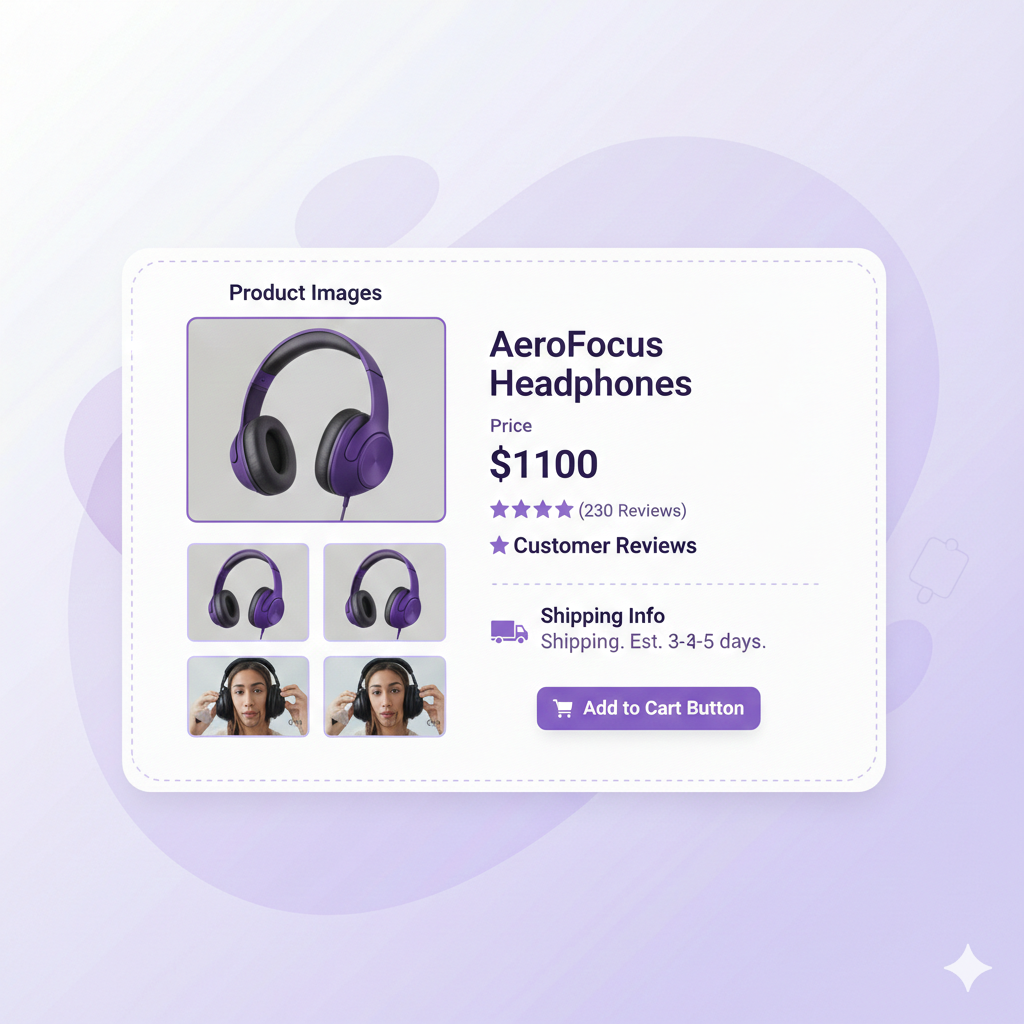
Once you’re clear on that you can build a short list. Decide which angles, detail shots and lifestyle setups you need for each product type. Using multi-format galleries with at least 5 to 8 images per listing helps build context for each product.
Even if you’re shooting at home with natural light, it pays to be intentional. Use the same background color for a whole category, shoot at the same time of day and keep your framing similar. Having a unified style with consistent lighting, angles and background colors across your entire catalog reinforces your brand identity.
Using Images Across Product Pages, Cart and Checkout
Many brands put all their effort into the main product image and forget that those same images show up in other places too. Your gallery might look great on the product page, but what does the thumbnail look like in a mobile cart drawer or the order summary at checkout?
Ideally your first image should be the clearest hero shot: the easiest version of the product to recognize at a glance. This is the one that needs to work everywhere, on listing pages, in quick-view windows, in carts and on the checkout confirmation. If that image is confusing or doesn’t show what makes the product special, people may second-guess their purchase halfway through.
With Penni Cart you can control how your images display across the whole flow, from product page to cart to checkout. That means you can make sure the same strong, reassuring visuals keep showing up all the way until payment.
DIY vs Professional: What’s Right for Your Store?
Not every store needs a full-time photographer from day one. If you’re just starting out a small catalog plus a phone with a good camera and some natural light can go a long way. Simple, clean, consistent DIY photos are better than random, mismatched images from suppliers.
DIY is usually a good fit when you have a limited number of SKUs, time to experiment and a basic understanding of lighting and composition. Use a stable shooting surface and a tripod to keep your shot steady. Bounce light onto your product with a white poster board or reflector to soften shadows.
Hiring a professional makes more sense when your products are tricky to shoot (reflective packaging, translucent items, complex textures) or when your catalog is growing fast and you want a consistent look across hundreds of products.
A hybrid approach often works best. Start with DIY to validate your products and see which ones become best-sellers. Then reinvest into pro photography for the top performers and your main ad creatives.
Editing and Optimizing Your Product Photos
Once you’ve taken your product photos, the real magic happens in the editing room. Start by making sure your product photography accurately represents what you’re selling. Adjust the brightness and contrast to make your product stand out but don’t over edit, customers want to see the real thing.
Color correction is especially important: your product’s color should look the same on screen as it does in real life so customers can set realistic expectations and reduce the risk of returns. Clean up backgrounds to keep the focus on your product. Crop and straighten your photos to ensure consistency across your ecommerce site.
Sharpening details and optimizing image size are also key steps. High-quality images should be sharp enough to show off textures and features but not so large they slow down your site. Use the right modern formats like WebP and compress images to balance quality and loading speed.
First Steps to Better E-Commerce Photography
If your store feels “okay” but not exciting, your photos are one of the easiest places to make a visible improvement. Start by looking at your top products and ask: would a first-time visitor feel clear and confident just from these images? If not, plan a simple upgrade for each: a sharper hero shot, one lifestyle image, and one close-up that highlights key details. Even small improvements on a few key products can make a noticeable difference in clicks and conversions.
If you’re already on Webflow and want your new images to shine, Penni Cart is built to solve the “I want custom ecommerce without custom code” problem. You can visually design your product pages, cart, and checkout, and use Penni Cart for free until you go live.
Related reading
- Webflow product catalog setup
- Product variants and payments in Webflow
- Webflow cart and product page components
- Web design for ecommerce in 2026
Building a visually-polished Webflow store? Browse cloneable Penni Cart components, your product page, cart, and checkout match your photography aesthetic instead of clashing with a third-party checkout.
Related Articles


Webflow App